
Sourcing a Table Top for Your Metal Table Legs: Practical Options & Tips
Sourcing a Table Top for Your New Table Legs: A Practical Guide
You’ve chosen your metal table legs—now you need the right table top to complete the build. Below are reliable, budget-aware options with pros, cons, and tips to help you pick the best surface for dining tables, desks, benches, and kitchen islands.
1) Local Wood Mills & Lumber Yards
Best for: Solid wood tops with control over species, thickness, and dimensions.
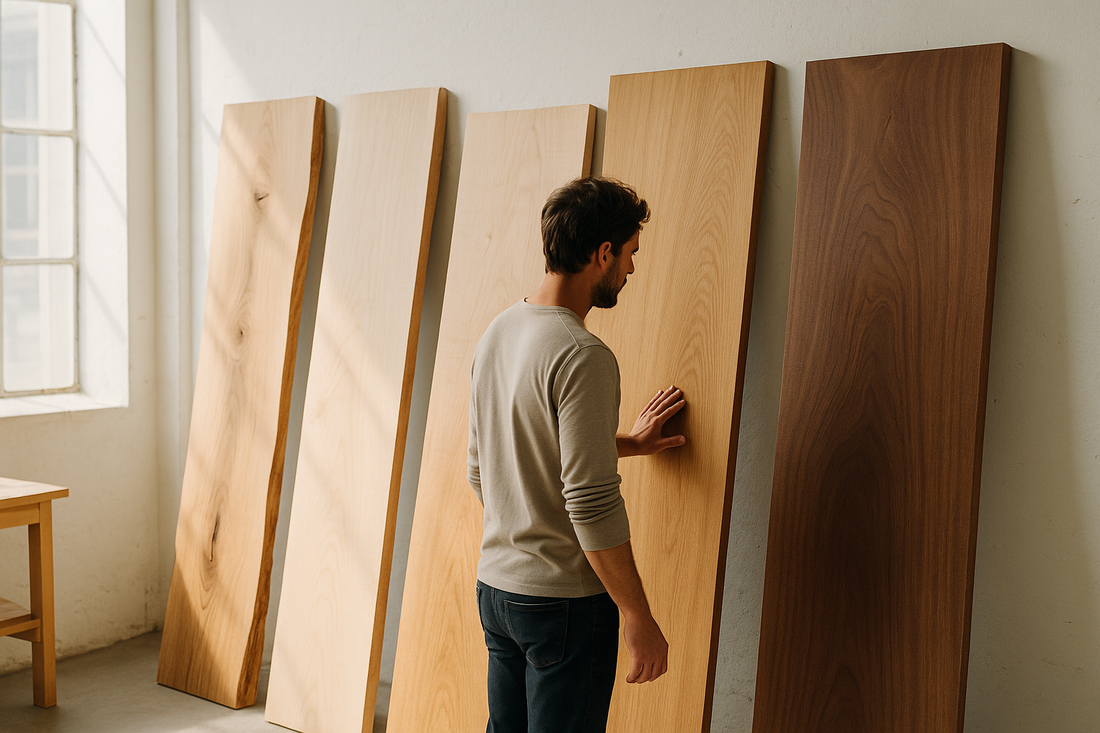
Why it’s great: Kiln-dried lumber, consistent quality, and the option to custom mill to your exact height/width. Common species include oak, maple, ash, walnut, and birch.
- Ask for moisture content (target ~6–8% for indoor furniture).
- Choose thickness to match your leg style (1–1.75" for most projects; 2"+ for large spans).
- Request straight, square edges or discuss live-edge for an organic look.
- Have the mill flatten and plane both faces to save time.
Pairing tip: Our H-Frame Table Legs shine with heavier tops, while U-Frame Table Legs complement lighter, minimalist designs.
2) Butcher Block Countertops
Best for: Kitchens, dining tables, workbenches, and desks with a clean, modern-industrial look.
Why it’s great: Available off-the-shelf in standard sizes and species (maple, birch, acacia, oak). Stable, durable, and easy to refinish.
Finish & care
- Seal with food-safe oil for kitchens; use poly or hardwax oil for desks/dining tables to resist stains.
- Light sanding + re-oil brings worn tops back to life.
3) Repurposed & Reclaimed Materials
Best for: Unique, character-rich builds and sustainable projects.
Ideas: Old doors, bowling alley lanes, school lab tops, reclaimed barn wood, vintage workbenches.
- Check flatness (use winding sticks/straight edge).
- Confirm moisture & pests (reclaimed lumber should be dry and clean).
- Fill cracks/voids with epoxy; use dominoes/biscuits for alignment.
- Sand progressively (80 → 120 → 150/180) before finishing.
4) Plywood + Solid-Wood Edge (Budget-Smart)
Best for: Modern, clean surfaces on a budget.
How it works: Use cabinet-grade plywood (birch/maple) for the core and add a solid-wood edge band to hide plies and increase stiffness.
- Pick 3/4" or 1" plywood; double up the perimeter if you need extra thickness.
- Edge-band with 1.5" strips of matching hardwood; glue and clamp, then flush-trim.
- Finish with waterborne poly or hardwax oil for durable, low-yellowing protection.
5) Solid-Wood Glue-Ups (DIY Top)
Best for: Custom sizes and species at a mid-range price.
- Joint & plane boards so edges meet cleanly.
- Alternate growth rings to reduce cupping.
- Use dominoes/biscuits for alignment (strength comes from glue).
- Clamp across the width with cauls; scrape squeeze-out.
- Flatten, sand, and finish.
Thickness guide
- Benches & small desks: 1"–1.25"
- Dining tables: 1.25"–1.75"
- Large spans or heavy tops: 1.75"+ and/or add underside stiffeners.
Hardware & Mounting Essentials
- Pilot holes: Prevent splitting and ensure straight screws.
- Slotted offset brackets: Allow seasonal wood movement (included with our legs).
- Screw length: ~⅔ the top thickness (e.g., 1" screws for 1.5" tops).
- Leveling glides: Protect floors and fine-tune height.
Finish Choices (Durability vs. Feel)
- Hardwax Oil: Natural feel, easy spot repair, medium protection.
- Waterborne Polyurethane: Clear, durable, minimal ambering—great for maple and lighter species.
- Oil + Wax: Warm tone, easiest to refresh; lower chemical resistance.
Quick Comparison
| Option | Look | Cost | Skill | Notes |
|---|---|---|---|---|
| Local mill solid wood | Premium, timeless | $$–$$$ | Medium | Best control over size/species; kiln-dried |
| Butcher block | Modern-industrial | $$ | Low | Easy to source; great in kitchens and offices |
| Reclaimed/repurposed | Unique, character | $–$$ | Medium–High | Check flatness; plan for prep/fill |
| Plywood + edge band | Clean, modern | $ | Low–Medium | Budget-friendly; very stable |
| Solid-wood glue-up | Custom, premium | $$ | Medium–High | Most flexible for size/species |
Next Steps
- Decide on size & thickness based on your leg style and table use.
- Choose a material path (mill, butcher block, reclaimed, plywood, or glue-up).
- Select a finish that matches durability needs (kitchen vs. office vs. dining).
- Mount using slotted brackets and correct screws to protect the top over time.
Ready to build? Pair your new top with our H-Frame Metal Table Legs or U-Frame Metal Table Legs — both available in custom heights from 10"–35" and widths from 10"–30", with powder-coated or raw finishes to match your design.